A Beginner’s Guide to Learn How to Hand Stitch Leather
If you’ve ever admired a beautifully handcrafted leather wallet, belt or dog collar, you’ve probably noticed the neat line of stitching running around the edges. Unlike machine stitching, hand stitching is incredibly strong, timeless and gives every leather project a premium finish.
The best part? You don’t need expensive machinery to get started.
In this guide, I’ll walk you through the basic process of hand stitching leather, the tools you’ll need and a few tips that will help you achieve professional-looking results. Read below to get started with the Beginner’s Guide to Learn How to Hand Stitch Leather
Why Hand Stitch Leather?
Hand stitching isn’t just traditional—it has practical benefits too.
A saddle stitch, which is the most common hand stitching method, is much stronger than a standard machine stitch. If one stitch becomes damaged, the rest of the seam remains secure, making it ideal for products that will receive years of use.
Whether you’re making:
- Dog collars
- Belts
- Wallets
- Keyrings
- Bags
- Notebook covers
Learning to hand stitch is one of the most valuable leatherworking skills you can master.
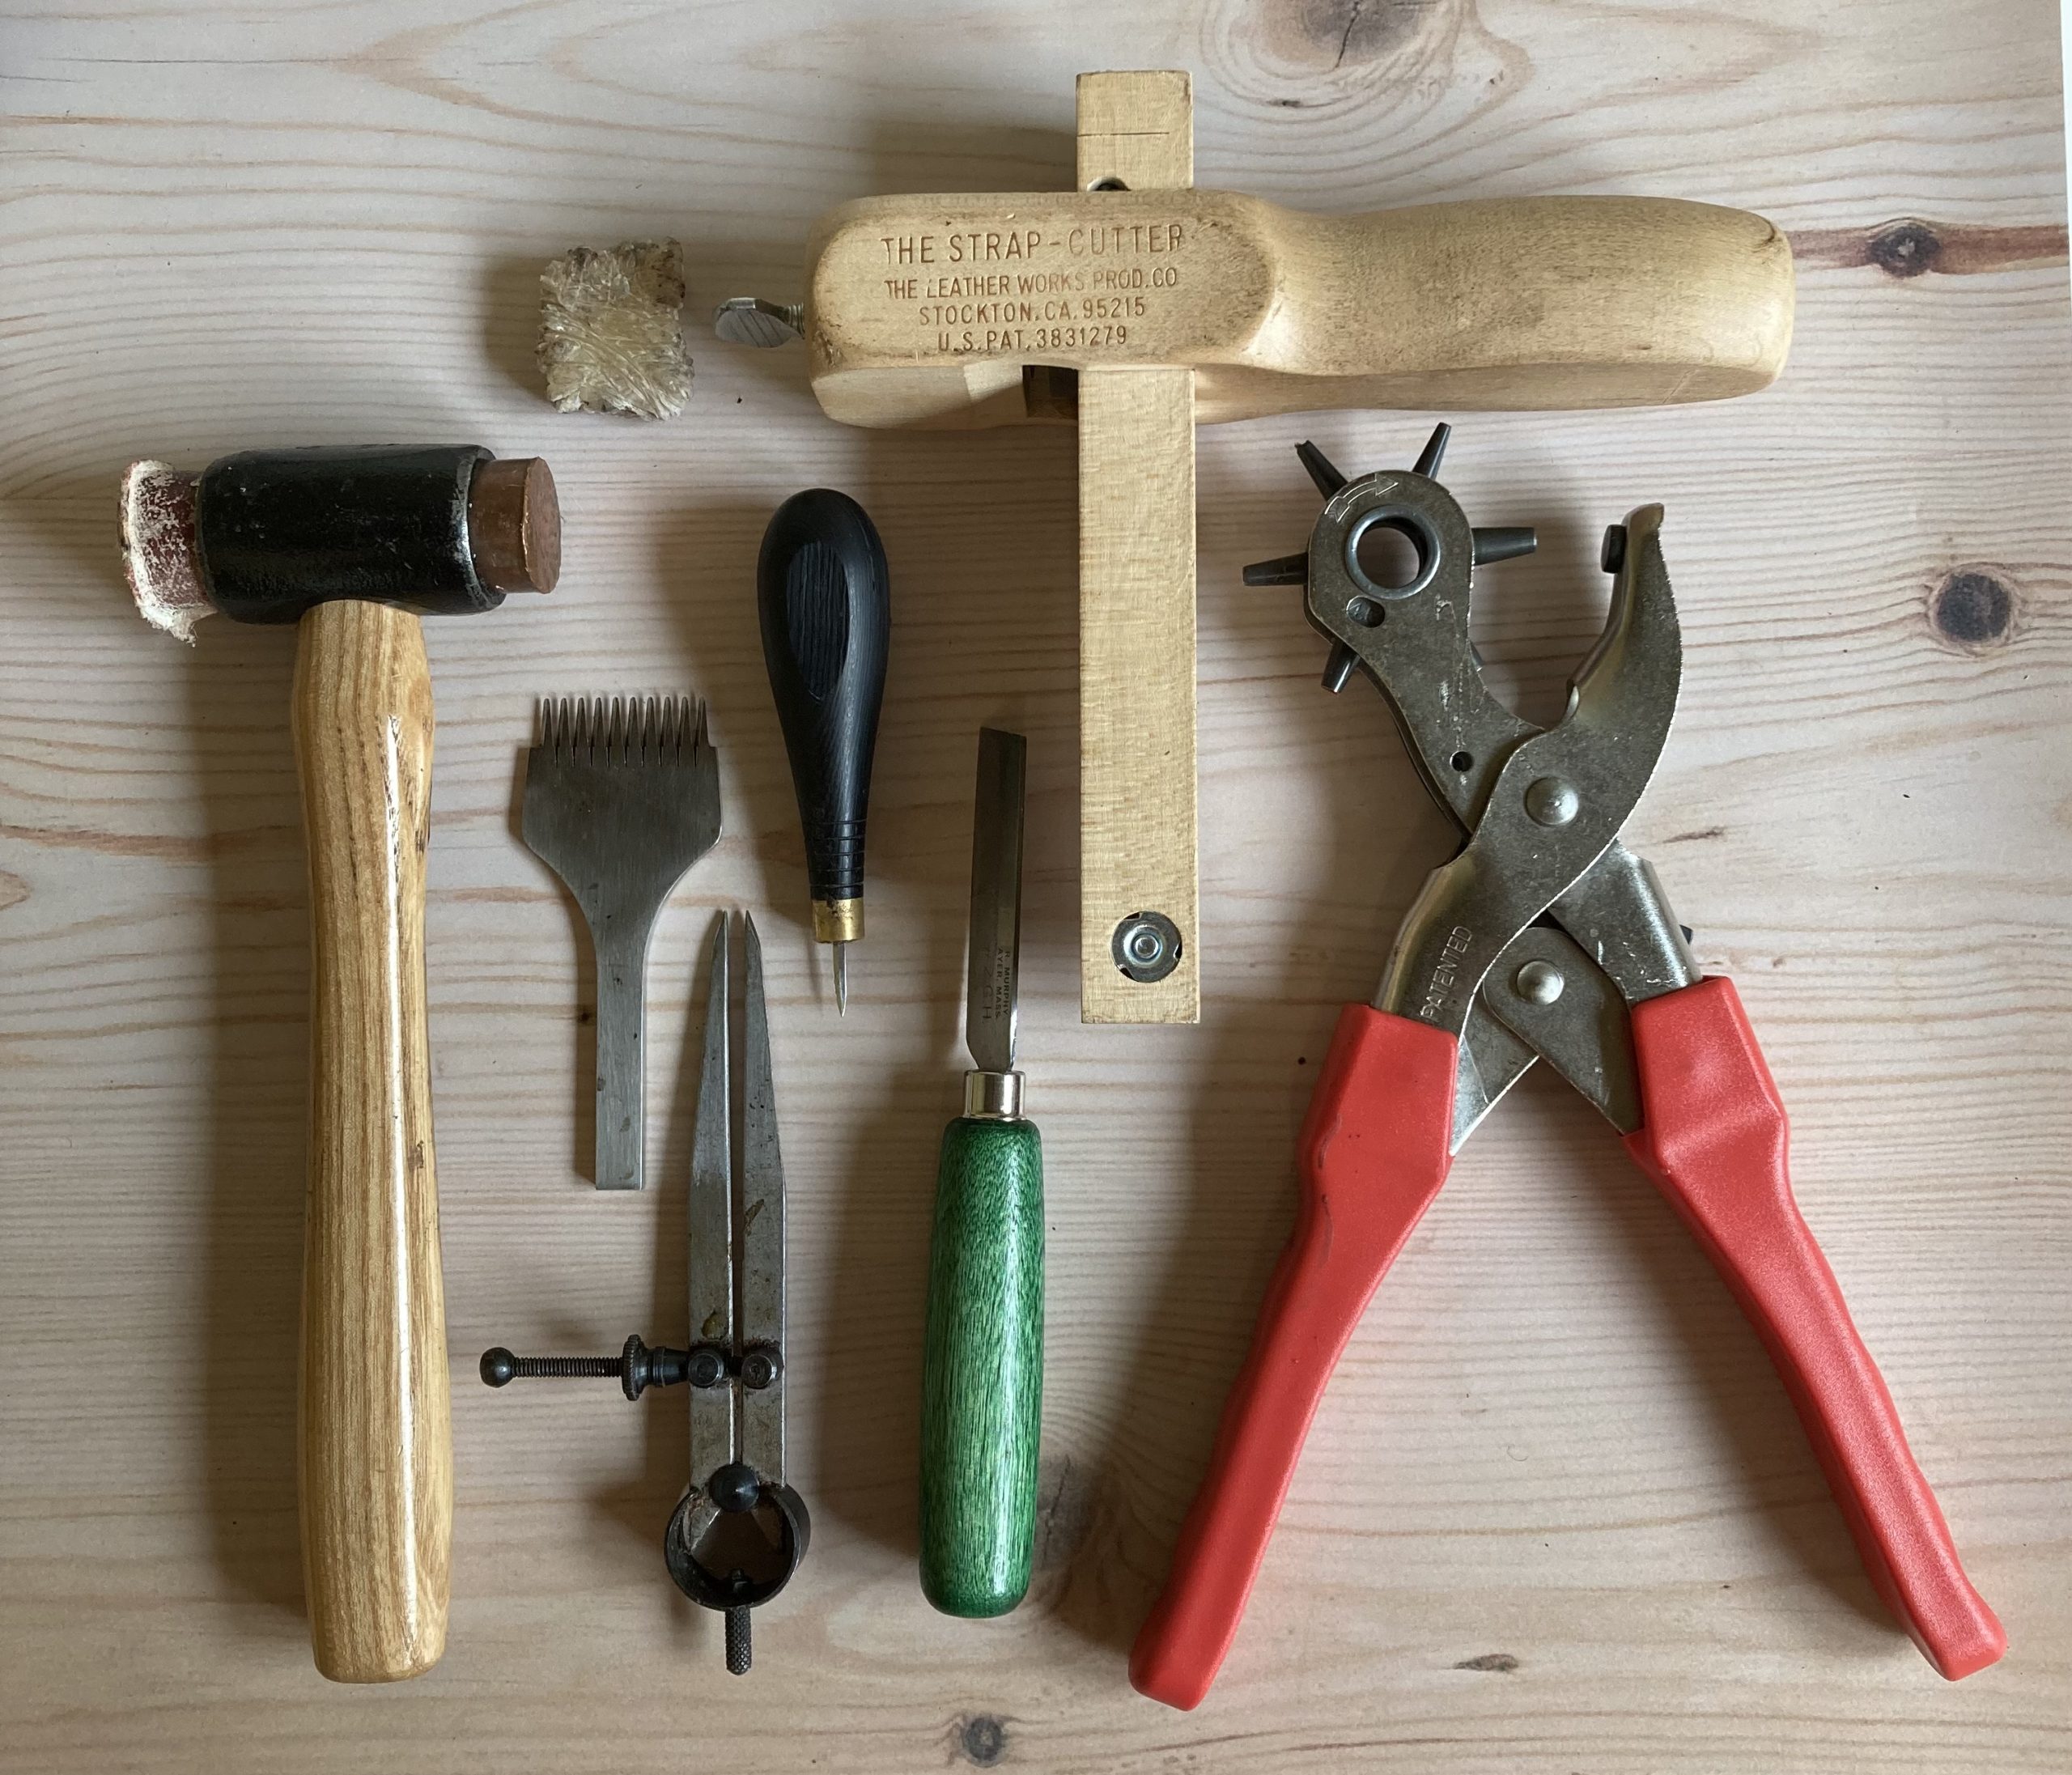
Tools You’ll Need
Before you begin, gather a few basic tools.
Leather
Choose a firm vegetable-tanned leather if you’re just starting out. It holds its shape well and is easy to mark and stitch. I recommend at least a 2mm thick firm leather.
Stitching Irons
These create evenly spaced holes that make your stitching look neat and consistent.
Different spacing sizes create different looks, so it’s worth experimenting to find your favourite. When you are starting out I recommend either 8 or 10 stitches to the inch, as you get more proficient with stitching you can progress to 12 stitches per inch. This is commonly used in saddlery and bridle work.
Saddler’s Needles
Leather needles have blunt ends because you’re stitching through holes you’ve already made rather than piercing the leather. Although they are still sharp enough to pierce your skin!
Waxed Thread
Waxed polyester or linen thread glides through the leather easily and creates a durable stitch. Linen thread is often unwaxed so you will need to run it through a block of beeswax before stitching.
Choose a thread colour that either complements or contrasts with your leather depending on the look you’re aiming for. I like to use linen thread as it’s excellent quality, my favourite is Lin Cable 432
Stitching Pony
A stitching pony holds your work securely, leaving both hands free for stitching.
Although not essential, it makes hand stitching much easier and improves stitch consistency. You can buy a very basic version that screws to the table or work bench. These are great when you are starting out.
Mallet
A nylon or rawhide mallet is used to drive the stitching irons through the leather without damaging them.
Edge Creaser or Wing Divider
This helps mark a straight stitching line along the edge of your leather for a professional finish.
Awl
A sharp blade often diamond shaped, to pierce the leather before stitching.
Step 1: Prepare Your Leather
Cut your leather pieces accurately and ensure the edges line up perfectly.
Use a wing divider or edge creaser to mark a stitching line approximately 4 mm from the edge.
This guide will help keep your stitches perfectly straight. Preparation at this stage helps ensure even stitching.
Step 2: Punch the Stitching Holes
Place your stitching iron on the marked line and strike it firmly with your mallet.
Work your way along the leather, overlapping the final tooth of the previous hole to keep the spacing even. I usually overlap by at least three stitches to ensure the stitching iron stays straight.
Take your time—accurate holes make stitching much easier.
Step 3: Cut Your Thread
A good rule of thumb is to cut approximately four times the length of your stitching line.
Thread a saddler’s needle onto each end of the thread.
Many leatherworkers lock the thread onto the needle by piercing the thread with the needle before pulling it tight. This prevents the needle from slipping off while stitching. To do this thread the needle, make sure you have a reasonable tail thread, push the needle back through the short tail of thread, pierce the thread, you now have a loop of thread. Pull the loop down to the bottom of the needle, tug the long end of the thread so that the needle is locked on.
Step 4: Start the Saddle Stitch
Using the awl push through the first stitch hole before pushing the first needle through.
Push one needle through the first hole until you have equal lengths of thread on each side.
From here you’ll work with two needles.
Pass the right-hand needle through the next hole.
Then pass the left-hand needle through the same hole from the opposite direction.
Pull both threads tight.
Repeat this process for every hole.
The thread should cross neatly inside each hole, creating an exceptionally strong stitch. You will need to be careful not to pierce the thread as it crosses in the hole. If this happens just go back a stitch and untangle the knot.
Step 5: Maintain Consistent Tension
Consistency is key.
Pull each stitch firmly—but not so tightly that it distorts the leather.
Try to pull the thread in the same direction every time.
This creates the distinctive angled appearance seen on high-quality leather goods.
Step 6: Finish the Stitching
Once you reach the final hole, backstitch through two or three holes.
This locks the stitching without needing knots.
Trim the thread close to the leather.
Many makers gently melt the thread ends (if using polyester thread) or tap the stitching lightly with a smooth-faced hammer to settle the stitches into the leather.
Burnish the Edges
Beautiful stitching deserves beautiful edges.
After stitching, sand the edges smooth before applying water, gum tragacanth or Tokonole.
Burnish using a wooden slicker or canvas cloth until the edges become smooth and glossy.
This finishing touch transforms a handmade project into something that looks professionally crafted. This is a step that is often missed in leather product making and means the difference between a beginner and quality piece of work.
Common Beginner Mistakes
Everyone makes mistakes when learning. Here are a few to watch out for:
- Pulling stitches with uneven tension.
- Using thread that’s too thick for the stitching holes.
- Punching holes that aren’t straight.
- Forgetting to mark a stitching line.
- Using blunt or damaged stitching irons.
- Cutting thread that’s too short.
Take your time and remember that every project helps improve your skills.
Practice Projects
If you’re new to leathercraft, start with simple projects such as:
- Leather keyrings
- Coasters
- Card holders
- Dog leads
- Dog collars
- Belt keepers
- Notebook covers
These smaller projects help build confidence before moving on to larger items like bags or belts.
Final Thoughts
Hand stitching leather is one of the most rewarding parts of leathercraft. Every stitch is made by hand, creating products that are both beautiful and incredibly durable. I can recommend starting with the Weaver Leather working starter kit, this contains all the tools you will need to get started.
Like any traditional craft, it takes practice—but each project will improve your technique and confidence.

Stitching leather by hand
Whether you’re creating a thoughtful handmade gift or starting your own leatherworking journey, mastering the saddle stitch is a skill that will serve you for years to come.
If you’re looking for reliable leatherworking tools, I regularly use and recommend quality stitching irons, saddler’s needles, waxed thread, edge tools and finishing products. If you purchase through my recommended links, I may earn a small commission at no extra cost to you. It helps support my work and allows me to continue creating free leatherworking tutorials and guides.
Hopefully this Beginner’s Guide to Hand Stitching Leather has been useful
Happy stitching!